Appearance
Private Offers (Private Placement)
This section displays the offers that your admin team has invited accredited investors and clients to participate in. They can only view and participate in these offers if they have been invited.
NOTE
Before proceeding to create an offer, brokers, banks, bank branches, and currencies MUST be created or you will be unable to proceed. If you have already done this in the IPO section, this information will appear in the drop-down menus in the private placement section.
In the event that you need to add new information the steps below can be used to do this.
Step 1: Click on the gear icon at the top right-hand side of the screen to open the Settings Menu.

Step 2: From the drop-down menu, select "Brokers".

Step 3. Next, click the blue rectangular button in the top right-hand corner labeled "Add Broker"- It's in the image shown below:

The Brokers Setting
Step 4: A new window will appear. It is in the image below. Fill out the fields in this window with the Broker's name and Code. Finish by clicking the blue "Add Broker" button.

Step 5: Click on the gear icon again to open the settings menu. From the drop-down menu that appears, select "Currencies and Fees".

Next, click the blue rectangular button in the top right-hand corner labeled "Add Currency" as seen in the image shown below:

The Currency Setting
Step 6: A new window will appear. It's in the image below. Fill out the fields in this window with the Currency's Name, Code and its Symbol along with any additional information that may be required. Finish by clicking the blue "Add Currency" button.

Now you're all set! You can now create your Offer!
How do you Create a Private Offer?
You can create a private offer by:
- Go to the main menu on the left-hand side of the screen. Select the "Offers" Tab.
- Click the blue rectangular button in the top right-hand corner of the screen named "Add Offer".
- Fill out the fields to create the offer, using your company's predetermined details for the offer.
NOTE
If you would like to export the listing of ALL of the offers on the Administrative Dashboard, simply click the white rectangular button labeled "Export as" in the top right-hand section of the screen (which is right beside the "Add Offer" button) to do so.
Let's get back to creating this offer!
These images below show the fields that will appear once you click the "Add Offer" button. Just fill them out with information provided by your company in order to hand-craft your offer to the desired specifications.
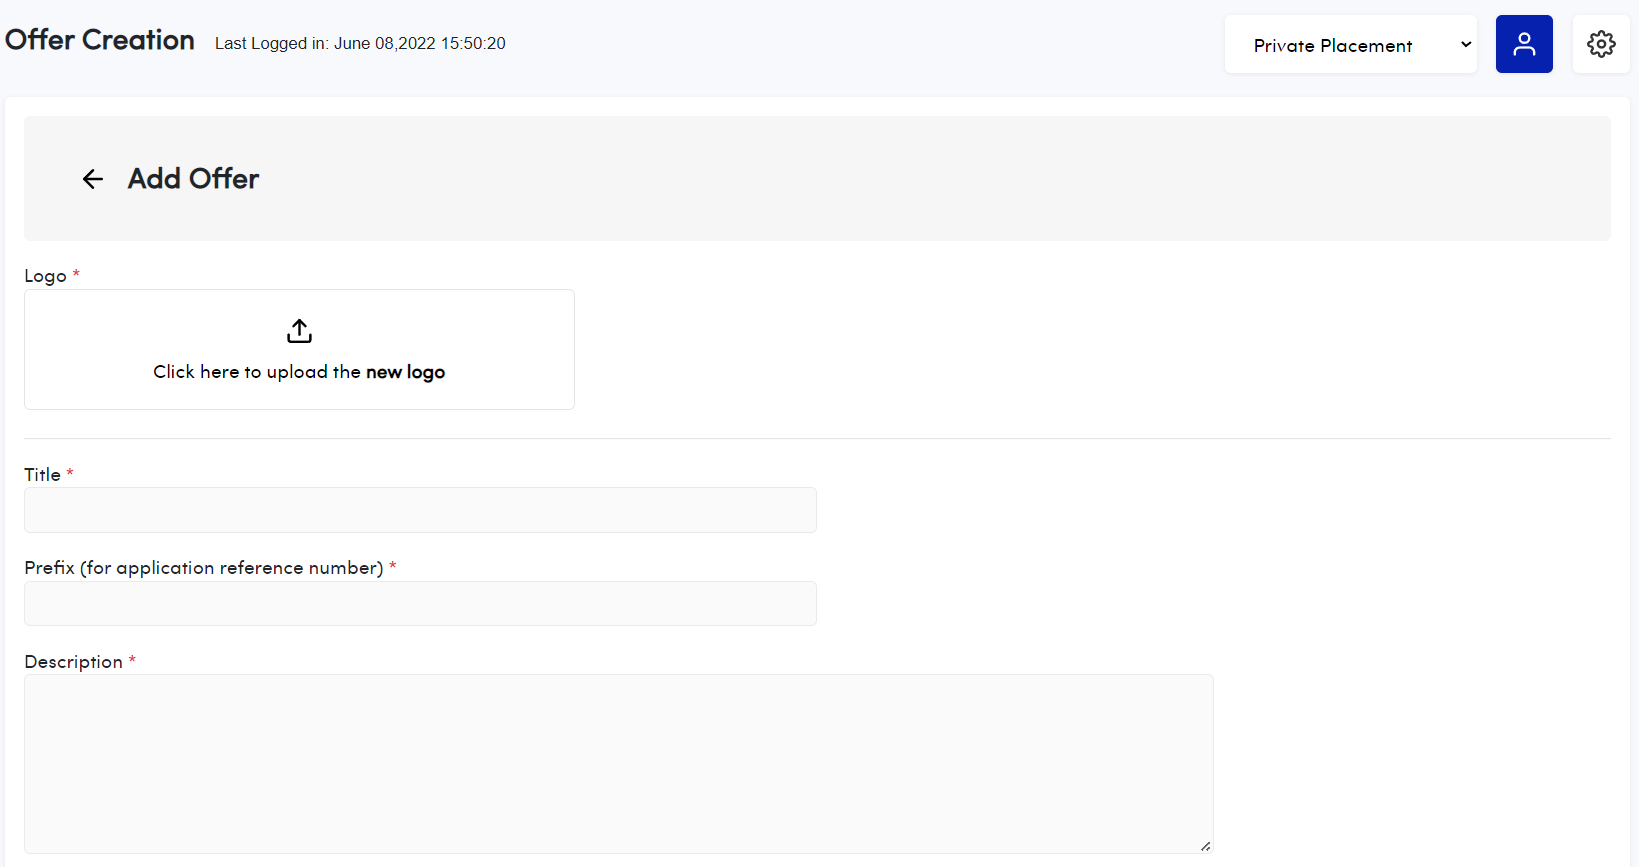

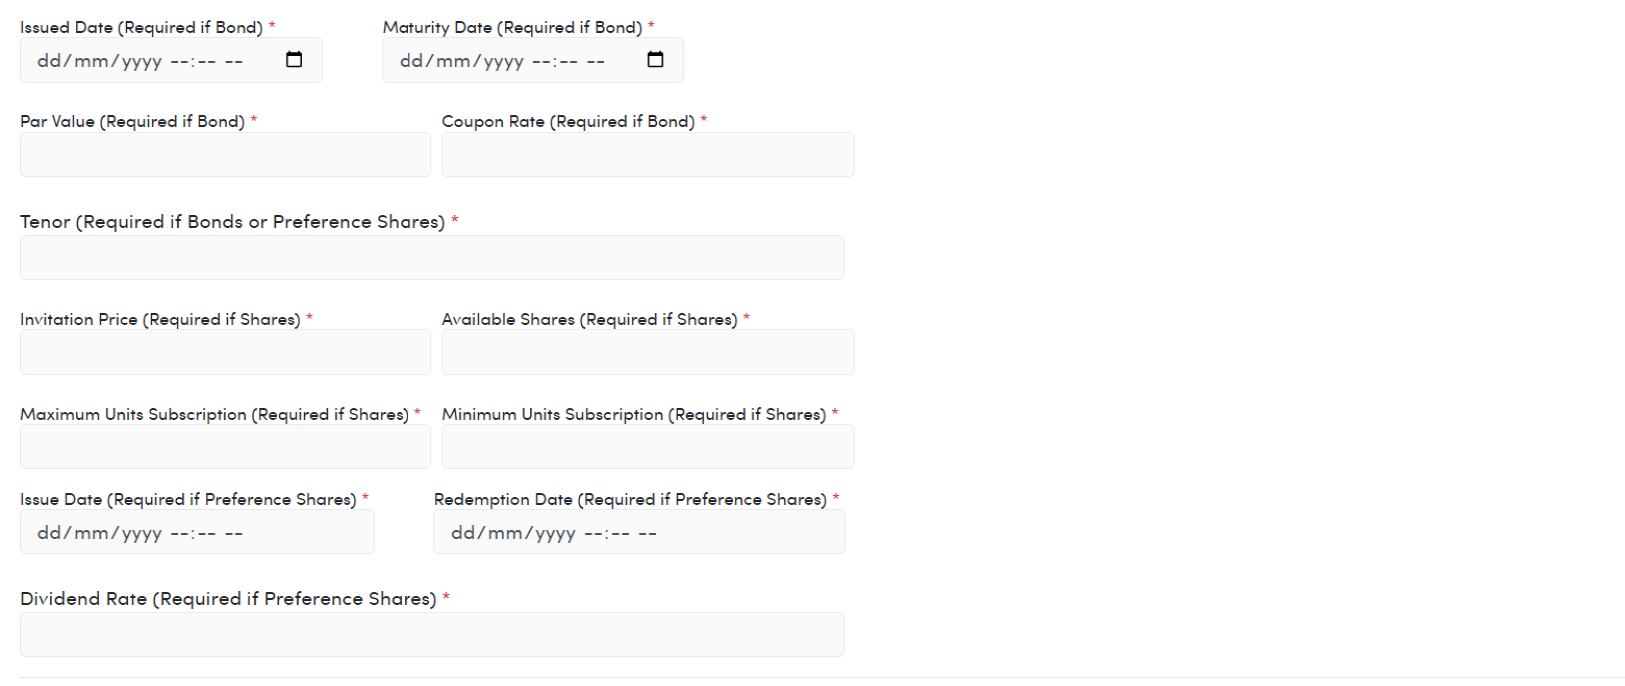
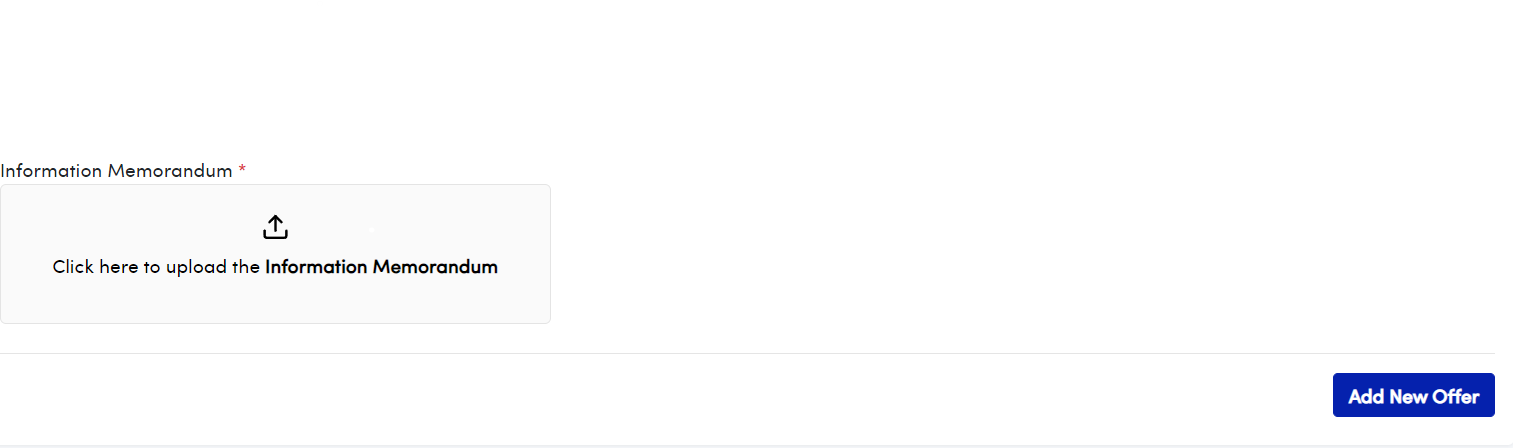
After filling out all the fields, finish by clicking the button, "Add New Offer". See this button in the image above.
Once this new offer has been successfully created, the next step is to enter the following information in the fields under each tab: "How to pay", "Users/ Invitees", Fees", "Forms", and "Video".
Add Instructions on "How to Pay"
On the newly created offer, click the "View" button to begin the process. in order to see the "View" button, you will have to use the horizontal scroll bar. Use it by scrolling to the right, and the "View" button will appear alongside an 'eye' icon. Here is a close-up of this process below.

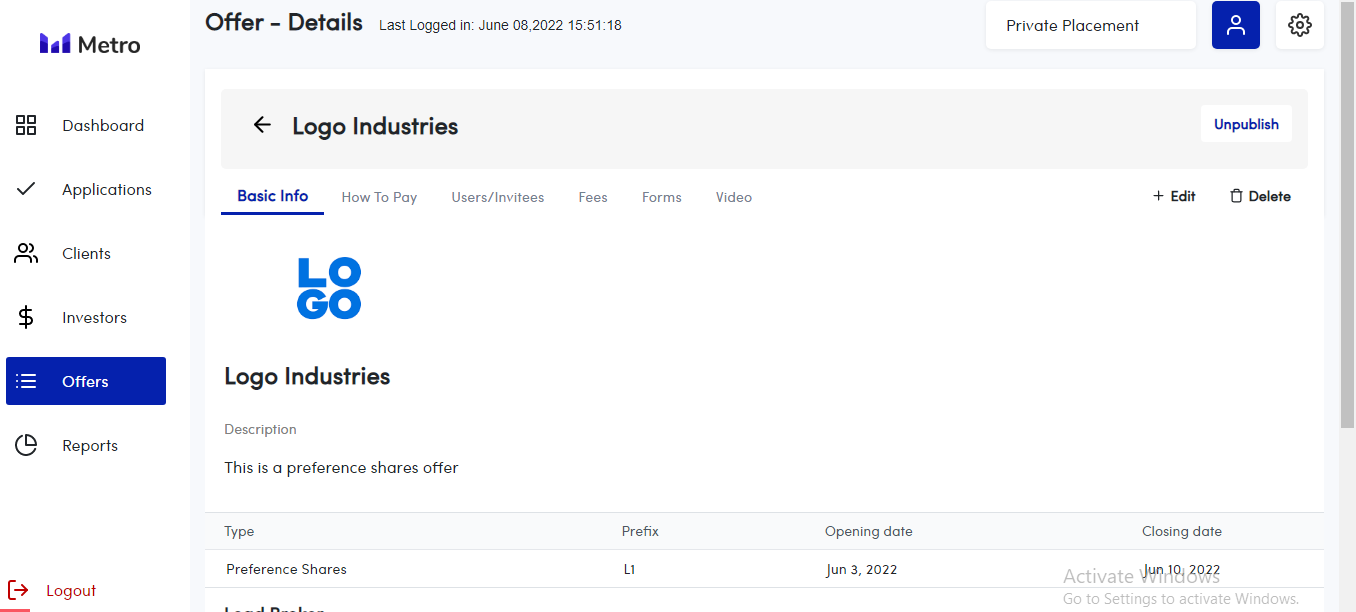
Once you click view, the "View" button for the particular offer that you have selected, a screen like the one in the image below will appear
If you look closely, you will see a series of tabs written in blue. Now click on the tab labeled "How to Pay". You'll then be taken to the screen below. Once you've done that, the "Add Instructions" button will appear. We've circled it for you in the image below.
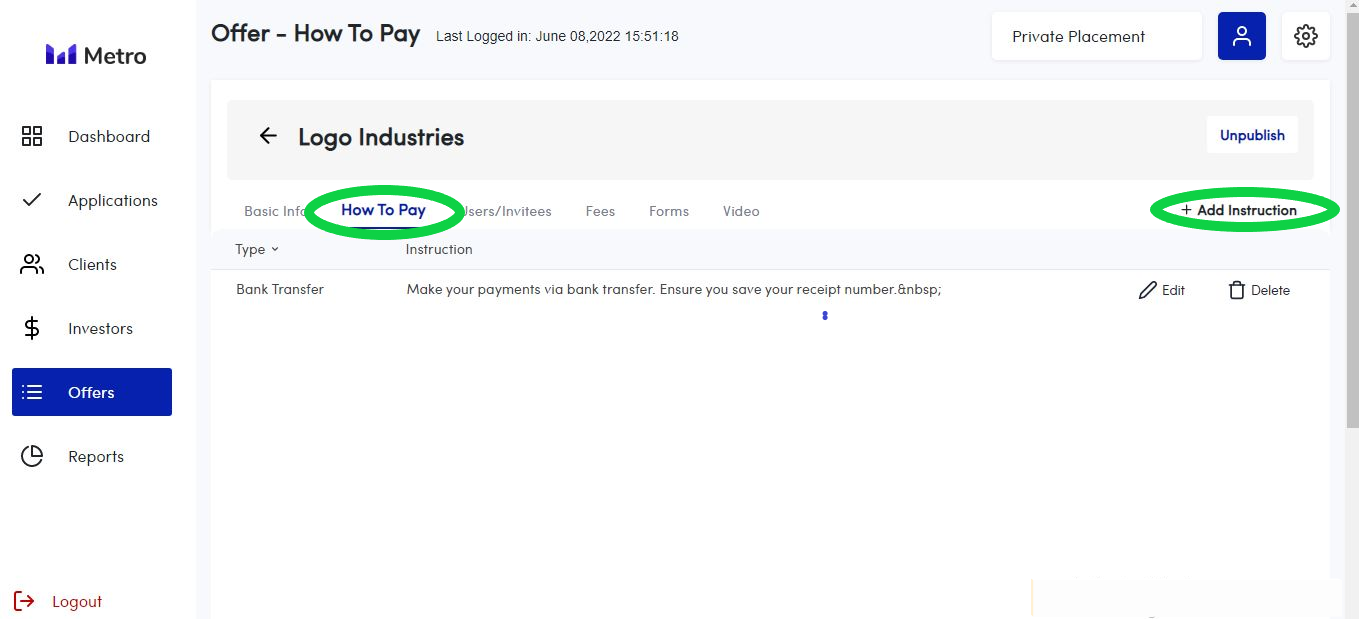
Click the "Add Instructions" button. Then, the window in the image below will appear.

Instruction Menu
Fill out this text box with the instructions for the payment method you have selected for the offer. Finish by clicking "Add Instructions".
Add "Users/Invitees"
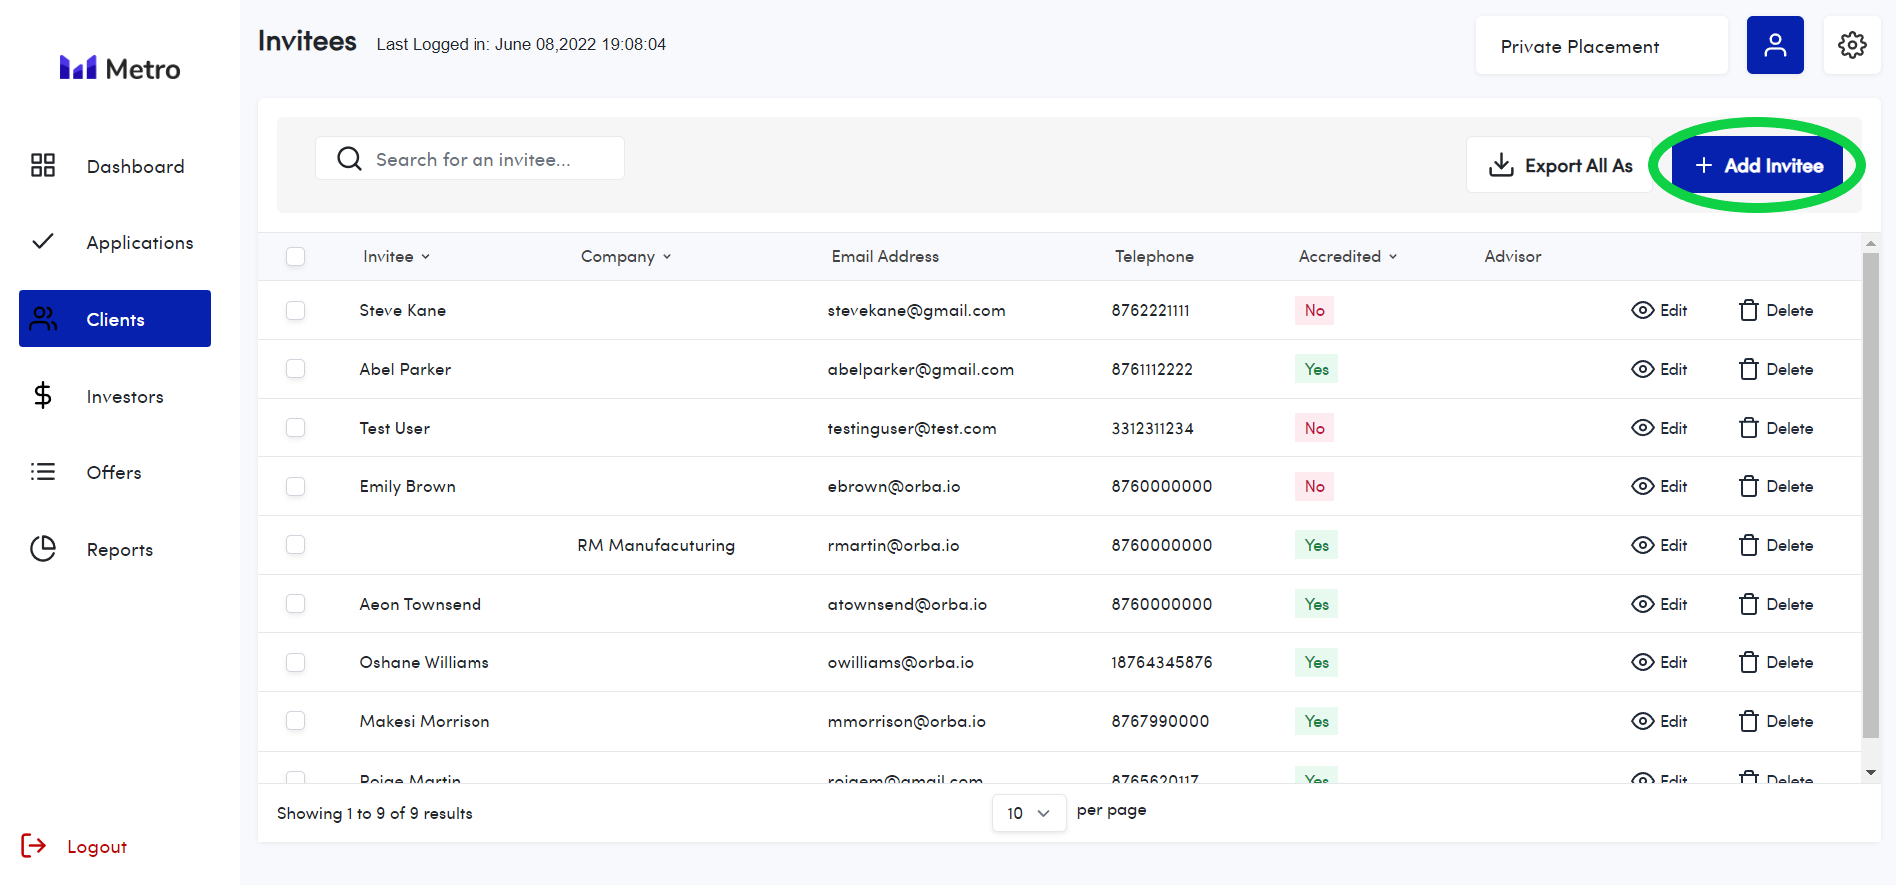
Add Users/Invitees that you would like to invite to participate in this offer. Click the button "Add Invitee" to do so. It's highlighted for you below.

Invitee Listing
After clicking this button, a new window will pop up. Select the names of the users you would like to invite to participate in the offer. Then click the blue "Add Invitee" button at the bottom of the window to complete this step.

Add Fees
Click on the word "Fees". Then the option of "Add Fees" will appear. This is highlighted below.

A new window will appear. Select the type of fee ( flat/percentage), the name and the amount in order to fill in the fields. Then click "Save".

Forms
In this section, upload the templates for the forms for your application, the confirmation document, and the mandate form templates.
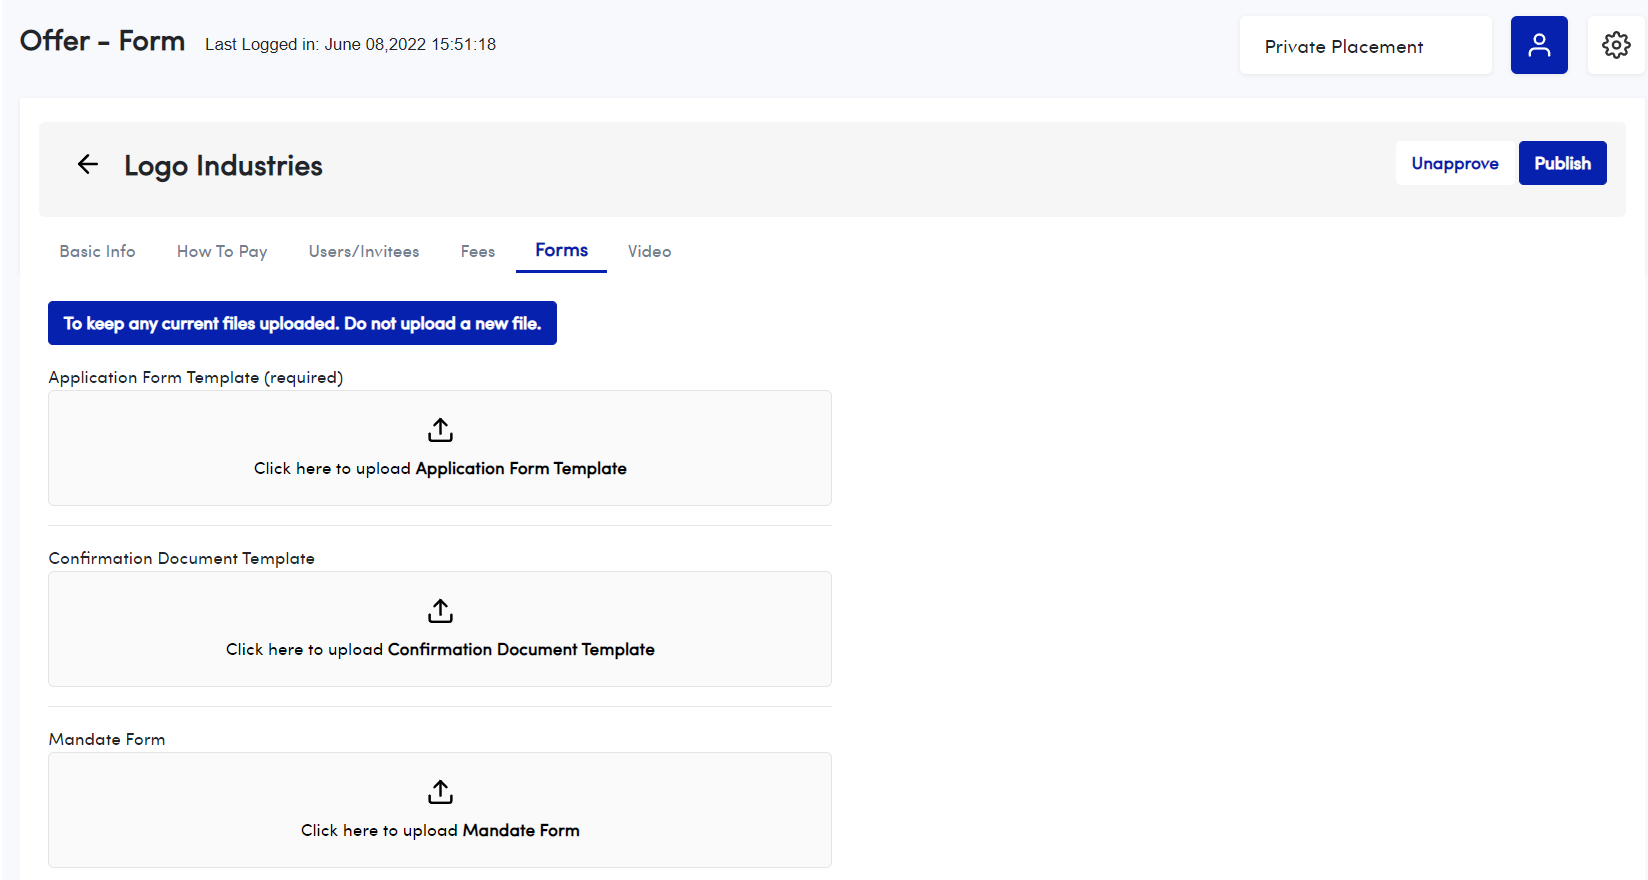

Then click "Save".
Video
Add a link for the YouTube video about your offer in the field below. This video will provide your clients with more info about the offer.

Now that you've added all the details for the offer you can finally publish your offer. To do this, click the "Publish" button ( its highlighted in the image below).
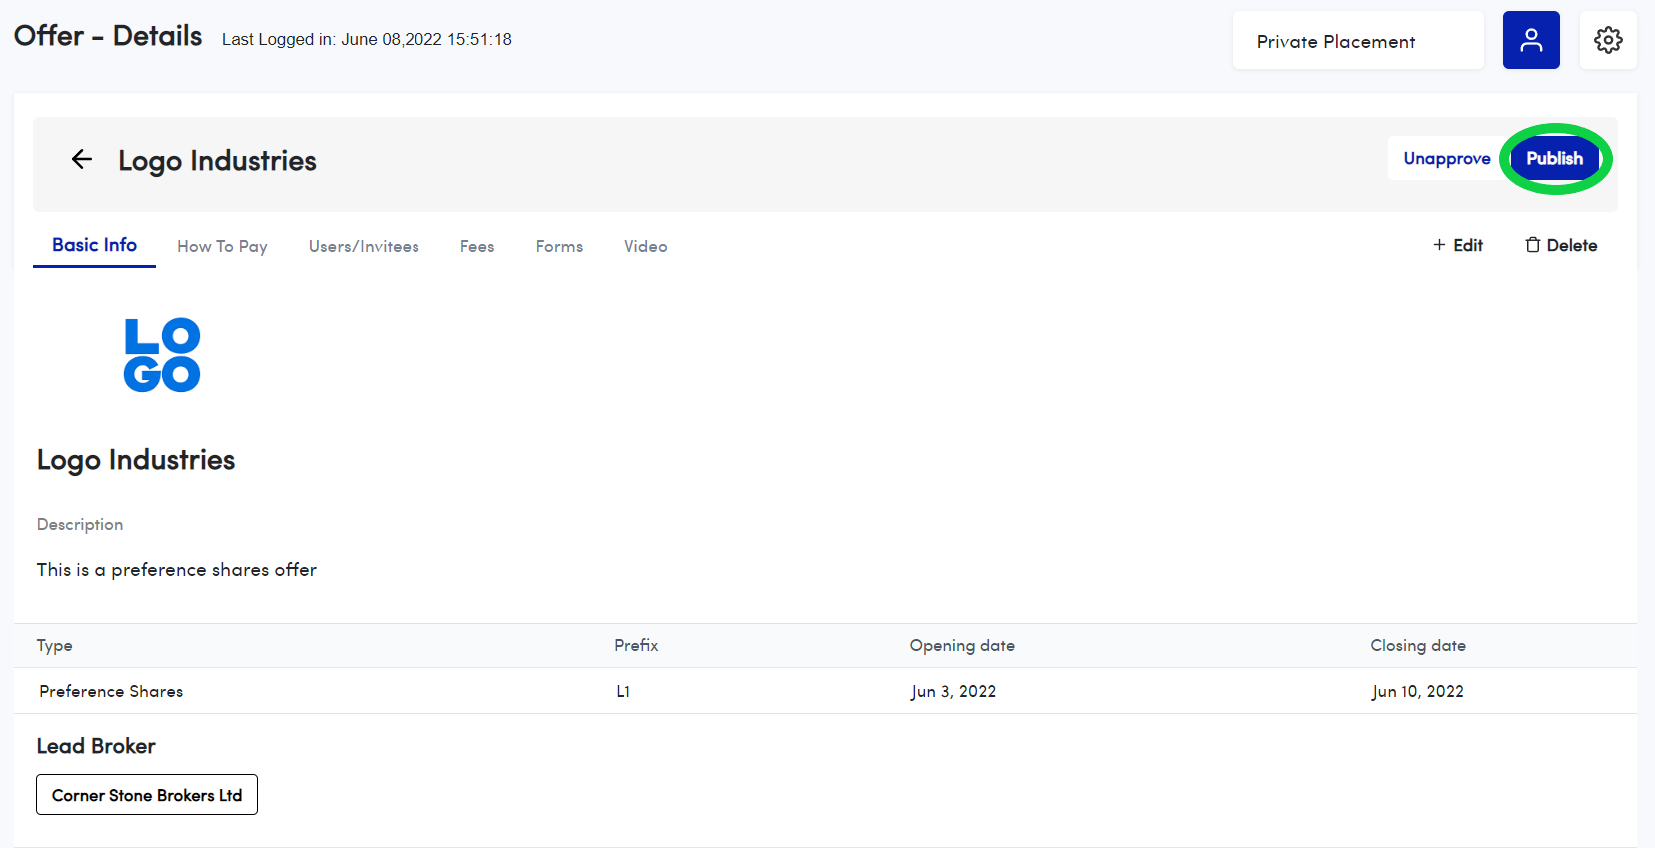
And that's it!
The offer will now be made available for viewing by the clients that you have invited. Once you click publish, an email is sent to the clients you added to the offer. Once the offer is open, your customers can now apply to it!
Now let's learn about Applications in the Private Placement section.
Applications
Once a Private Offer has been published and your Invitees have completed the application process to a particular offer, you may then review applications and **** approve or reject those applications.
Steps to Reviewing Applications.
- Select " Applications" in the Main Menu
- A list of applications will appear. Select the individual application you would like to review by scrolling to the right and clicking on "view".

- The application details will appear. Review them, check the documents uploaded by the client and go through each tab to make sure all is well with the application. These tabs are as follows "Details", "Refunds", "Checklist", "Other Details" and "Directors" or "Joint Holders" ( where applicable).

- If all is well, click the "Approve" button.
If something is wrong with the application, click the "Reject" button.
- Note once an application is approved or rejected, this status cannot be changed. In the event that the administrator selected a status in error, the client will have to submit a new application.
Clients
How to Add New Invitees
- Click on the Clients tab
- Click on the " Add Invitee" button.
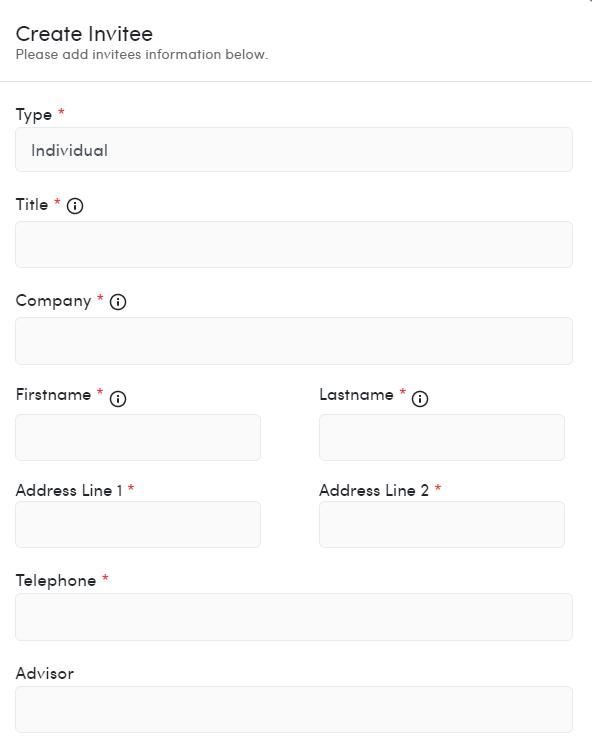
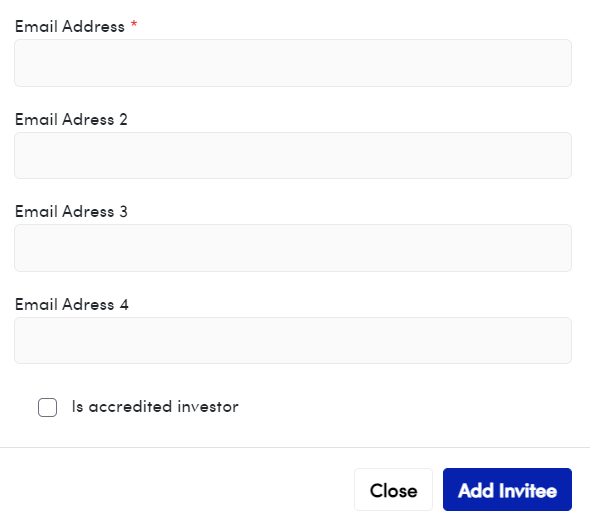
- A new window will appear- See below. Fill out the fields and click "Add Invitee".
Assign Accreditation status
Once you invite a client to a private offer, you can grant them "Accredited Investor" status. Here are the steps to do so.
- Click on the client's tab.
- Select a client from the client list, Scroll to the right, and click on "Edit"
A new window will appear.
Step 3. Look at the bottom left-hand corner of this new window. You can either select the check box to assign accredited investor status to the client, OR you can de-select it, to remove this status from a client. See the image below.


Final Step- Step 4. Click "Edit Invitee".
How to Edit or Delete Client Info.
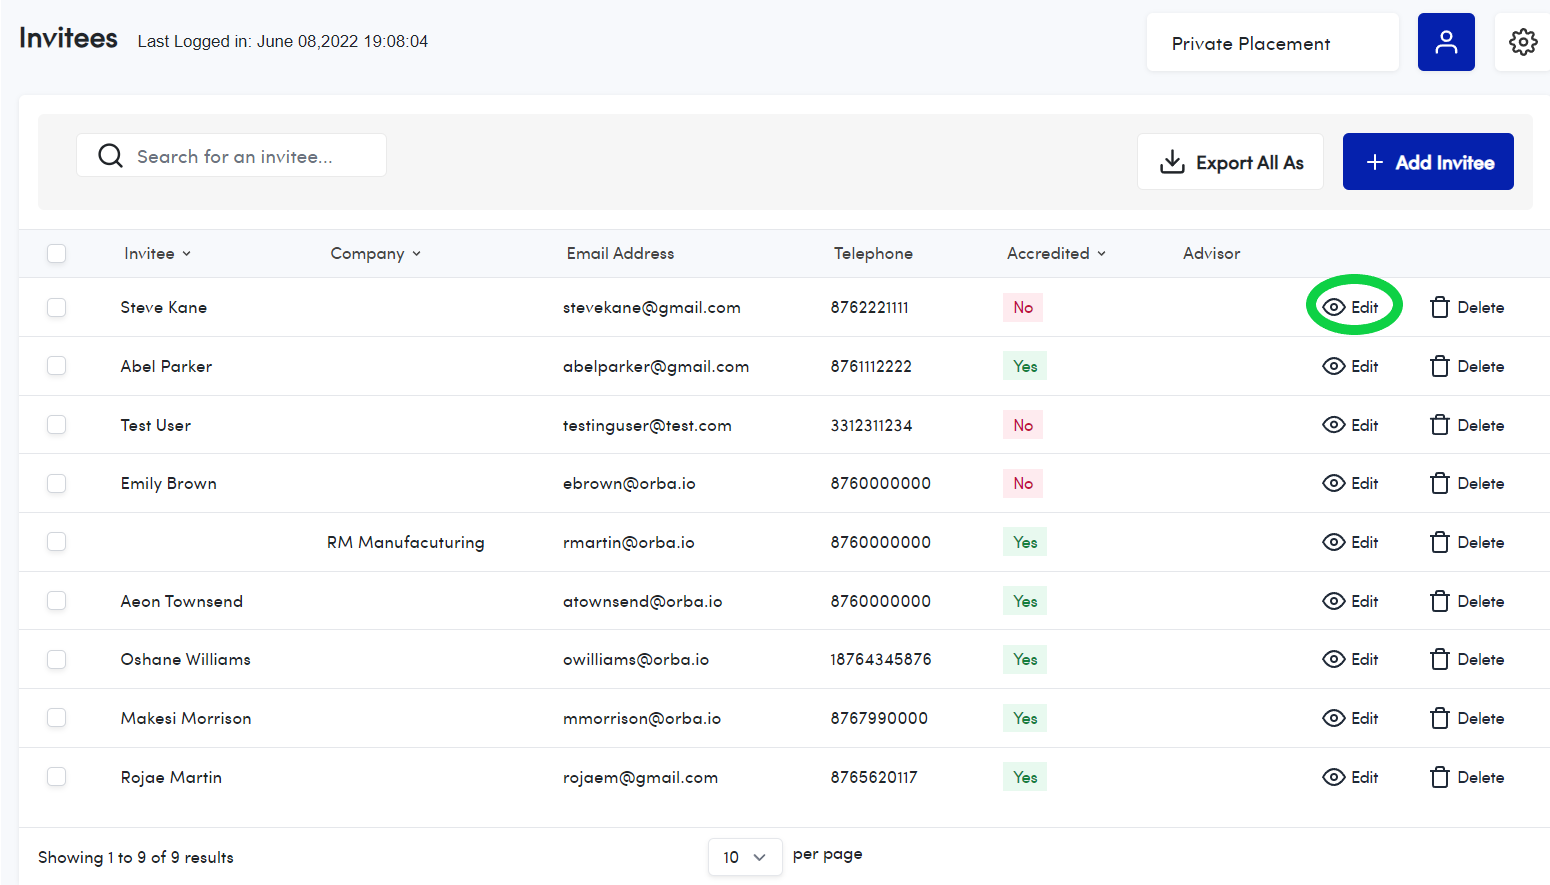
- To edit a client's information simply click "Edit", found in the same row as their name. - Your client's info will appear. Make the desired changes and save them.
- To delete a client from the system, simply click the word "Delete" within the same row as their personal info. Follow the prompt that will appear and complete the deletion process.
See the image below.

How to Exporting Client Data
To export the information in this section, do the following:
Steps:
- Select the users you would like to gather information for, by using the checkboxes on the extreme left-hand side of the screens.
- Click the "Export All As" button. ( see the image below)
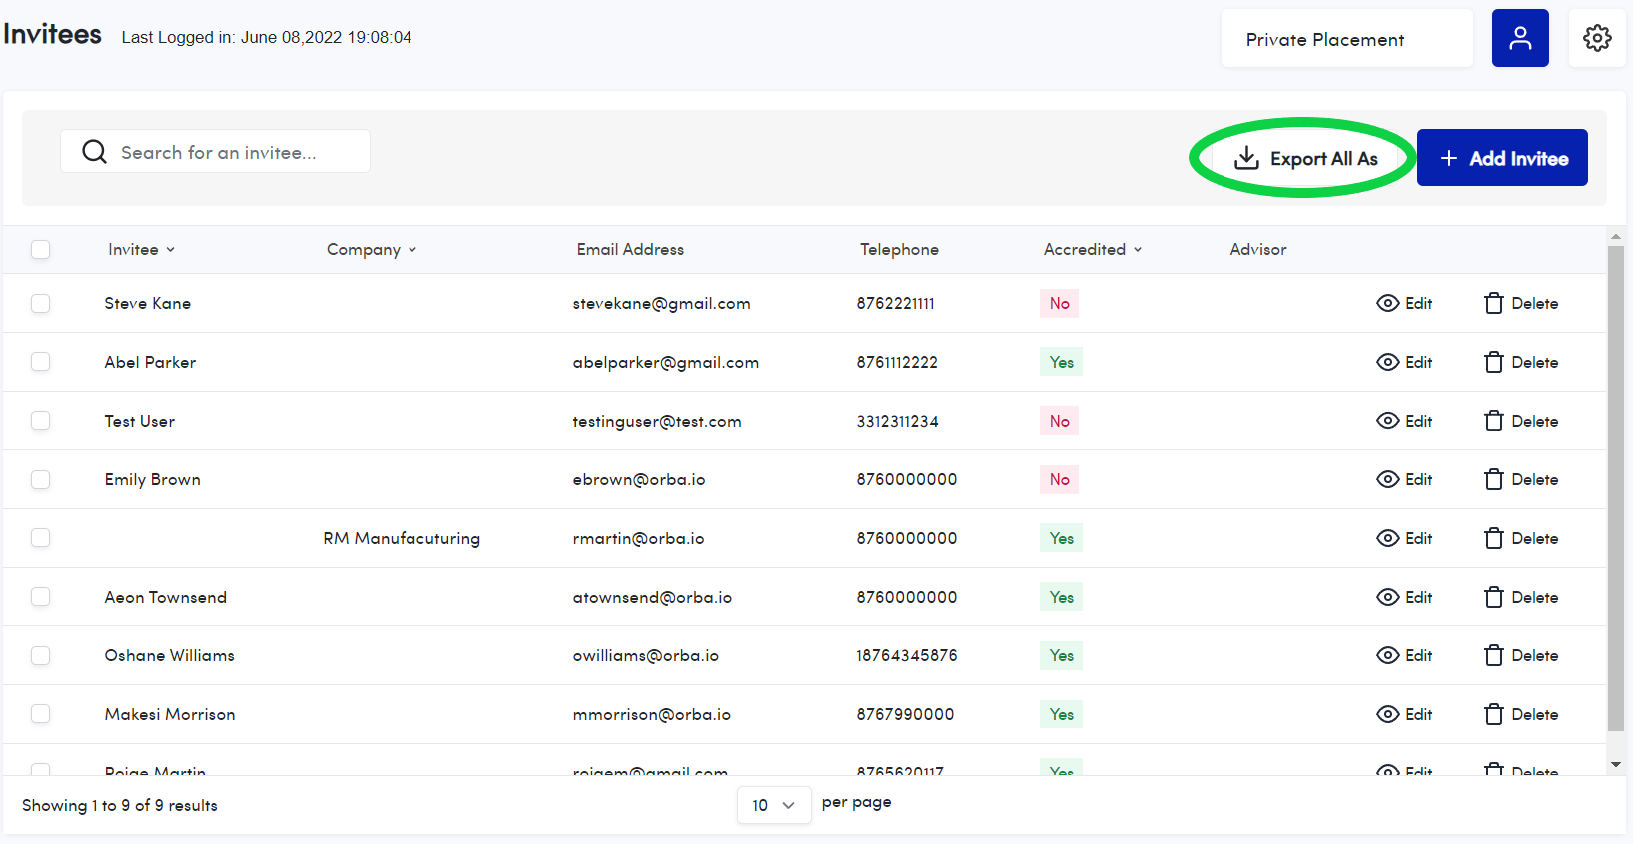

- Select the format you would like the information to be presented in " CSV, PDF or EXCEL" and click on that format.
The document will be downloaded and you will then be able to edit it/ use it as desired.
Investors
How to View Investor Details
- Select an investor and click the word "View", found in the same row as their name.

- A new screen will appear, showing a checklist that shows the information that the client entered. This is indicated by the grayed-out check boxes that cannot be edited by the administrator. This info is a compilation of the criteria that the client has met, which has granted them Accredited Investor Status.
There is also a checklist on the right-hand side of the screen, that you can edit. If you need to add more information about the investor, just click the check-boxes to do so.

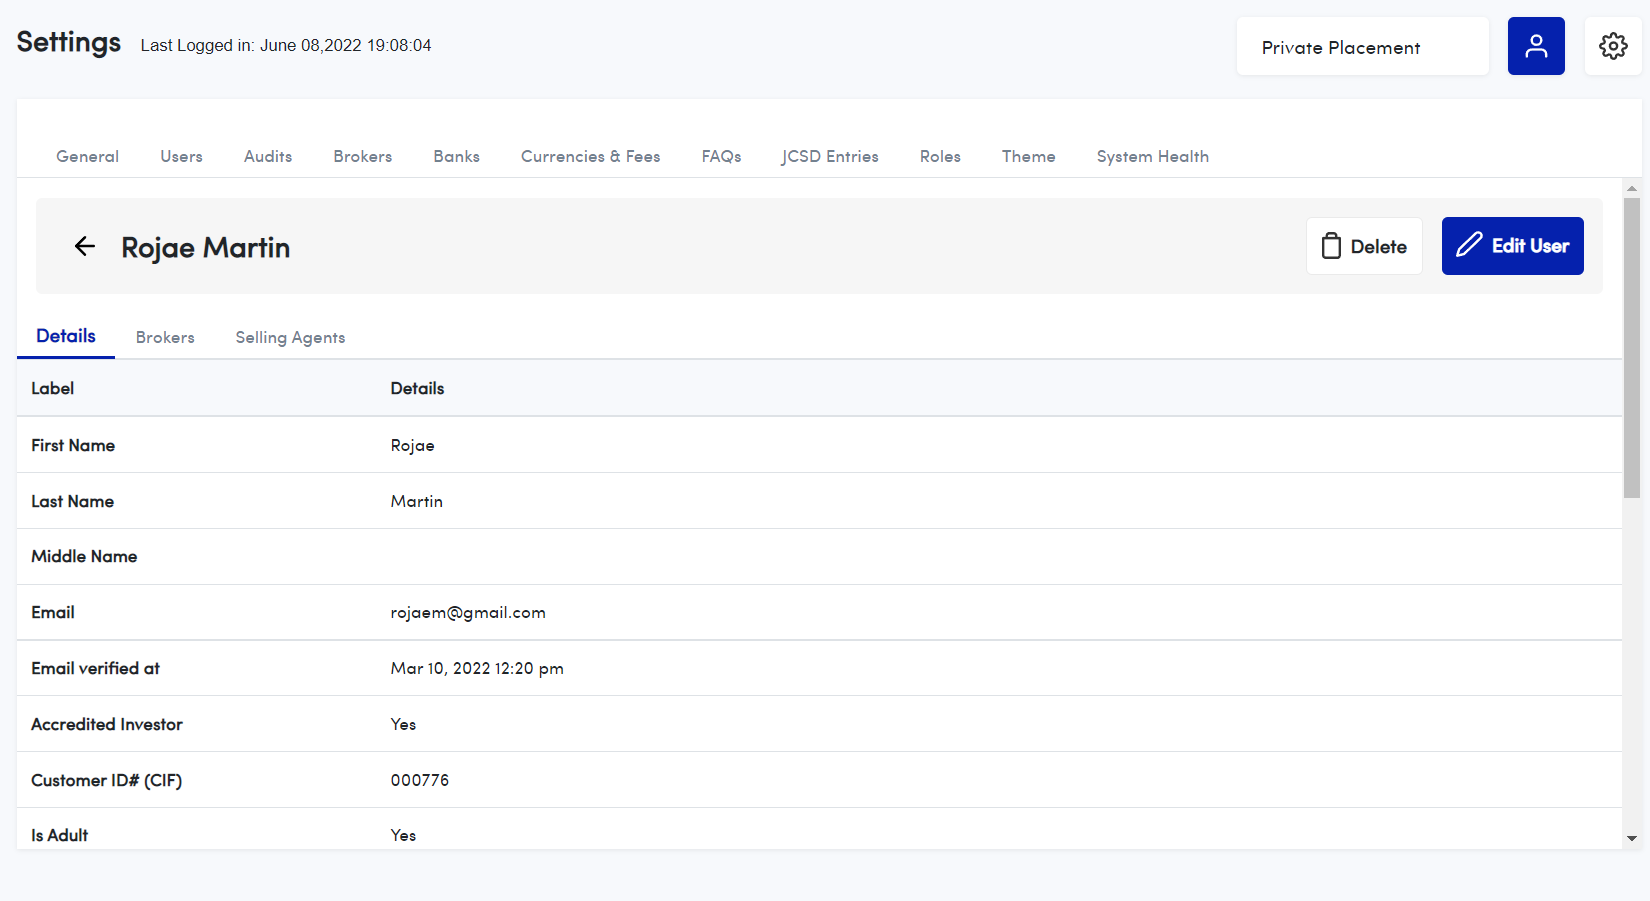
Note. If you need to View the Users details, Click " View User". This will take you to the following page where you can edit the user's information if necessary.
Exporting Investor Details
- Click the "Investors" tab.
- Click on the Checkbox next to "Name" and select "Export All As". This is demonstrated in the image below.

- Select the format you would like the information to be presented in: " CSV, PDF, or EXCEL" and click on that format.
TIP
The document will be downloaded and you will then be able to edit it/ use it as desired.
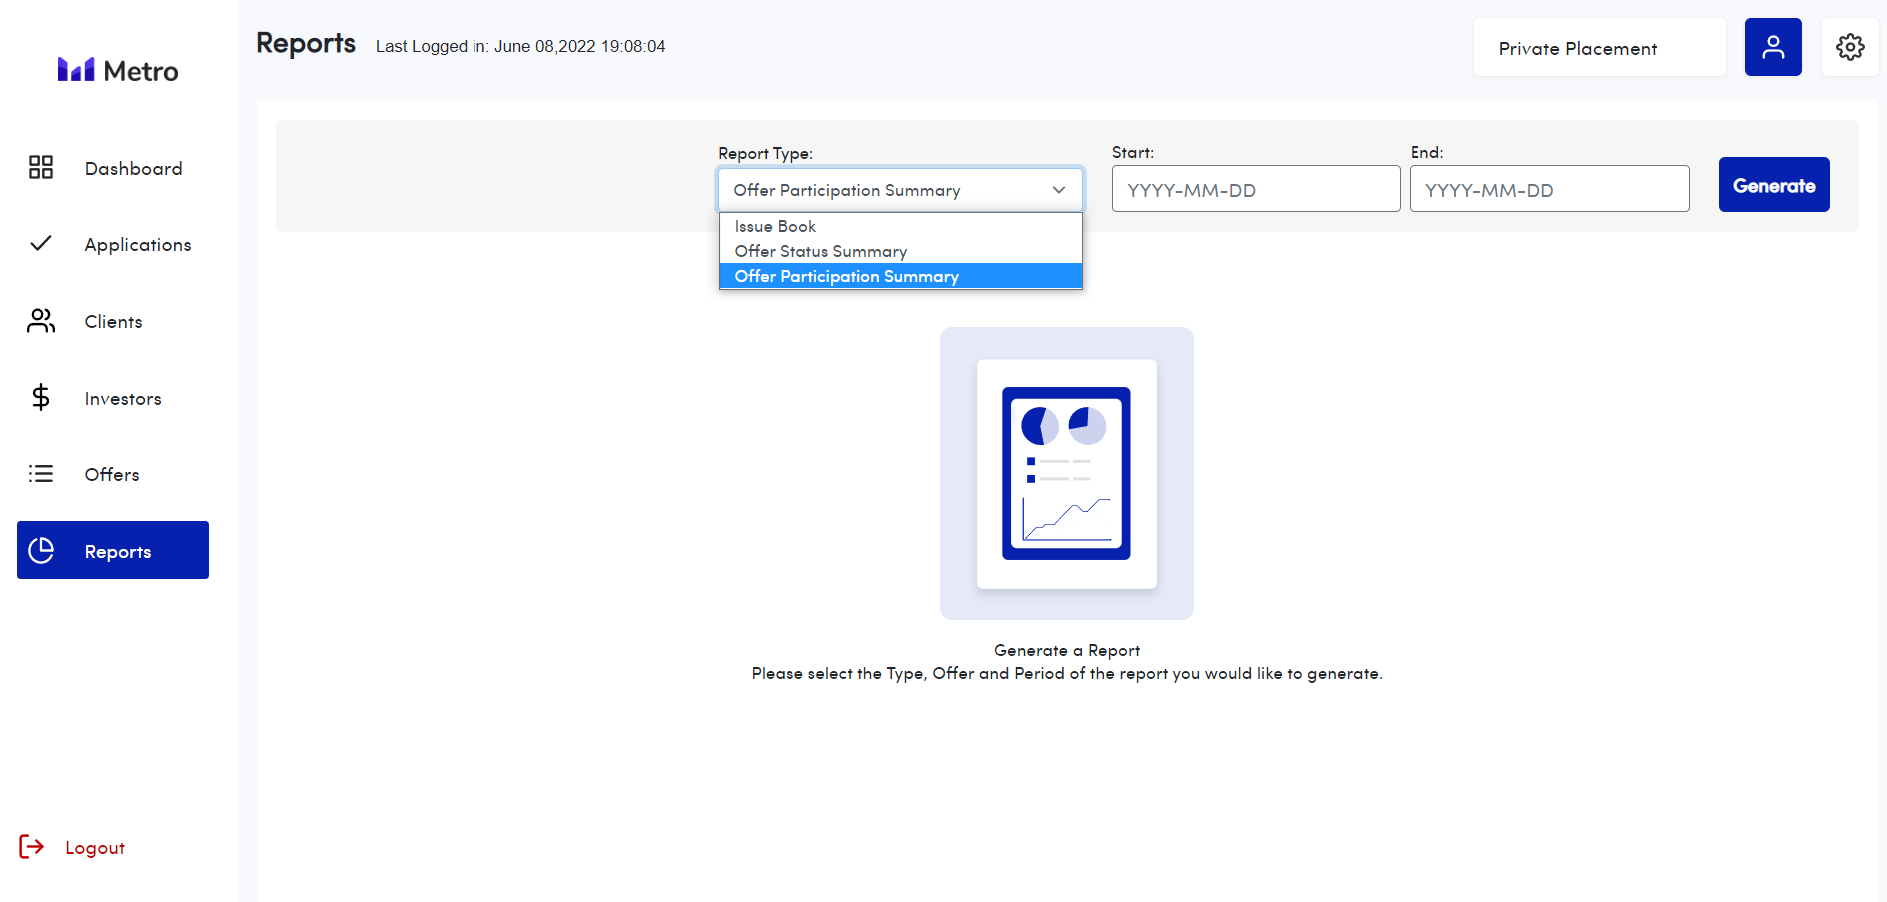
How to Generate Reports
In this section, the admin user, can generate reports of 3 types;
- Issue Book
- Offer Status Summary
- Offer Participation Summary

To Generate a Report:
- Select the Report Type from the drop-down.
- Select a Start and End date. - This time frame will show data for the offers that are open, from the first day of the offer being open, up to the same day that you generate the report. If an offer has closed within that time frame, data with also be generated.
- Click "Generate"
- The report will then be generated. You may then select "Export All As" and click on a format (CSV, PDF, Excel). The document will then be downloaded and you will be able to use it as desired.
Closure Letters
Once an offer closes, it is possible to manually generate a closure letter which will be disseminated to all applicants of that offer (Note that this will only work after configuring the closure letter settings present on the general setting page; more information can be found in the general settings section of the manual).
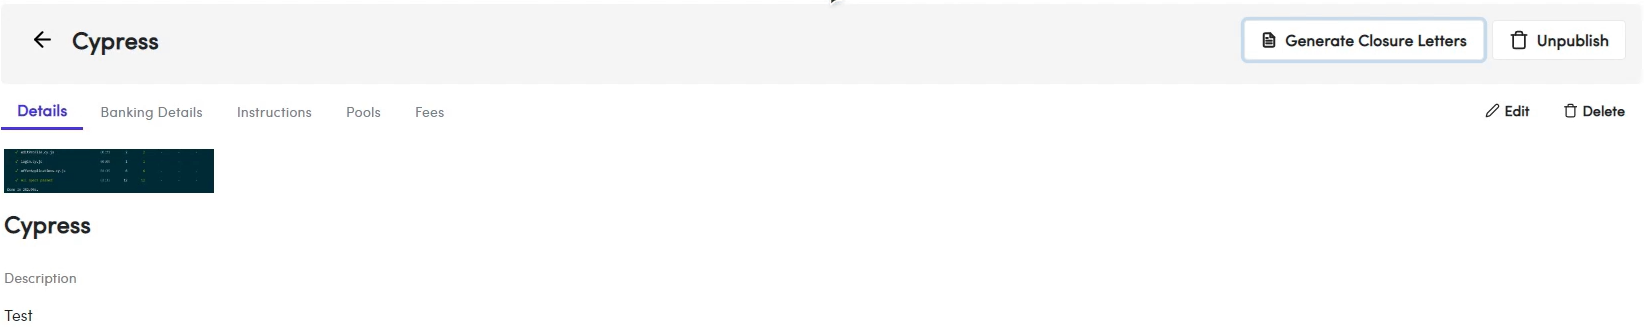
Once the user clicks the "Generate Closure Letter" button and confirms their selection, a notification will appear to notify the user that the generation process has begun.

An email will be sent to the "notify email" that was entered in the general settings, with the result of the closure letter generation.
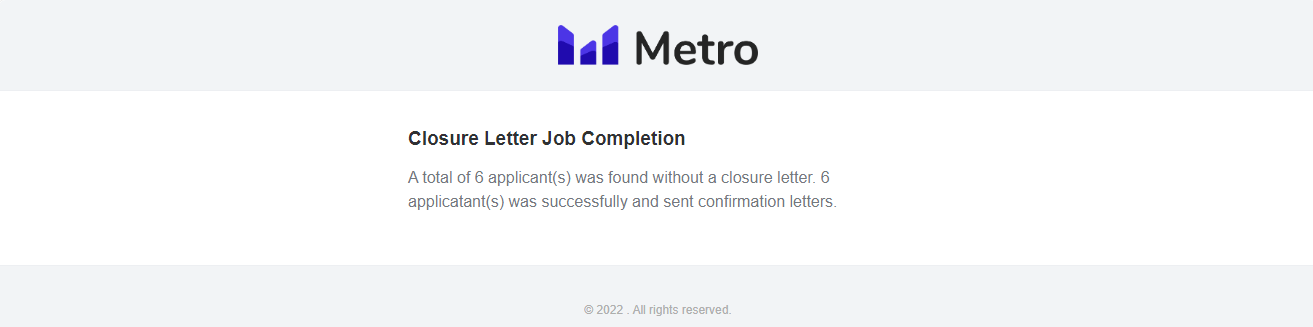
Emails will also be sent to all applicants of that offer with an attached closure letter pdf file.
